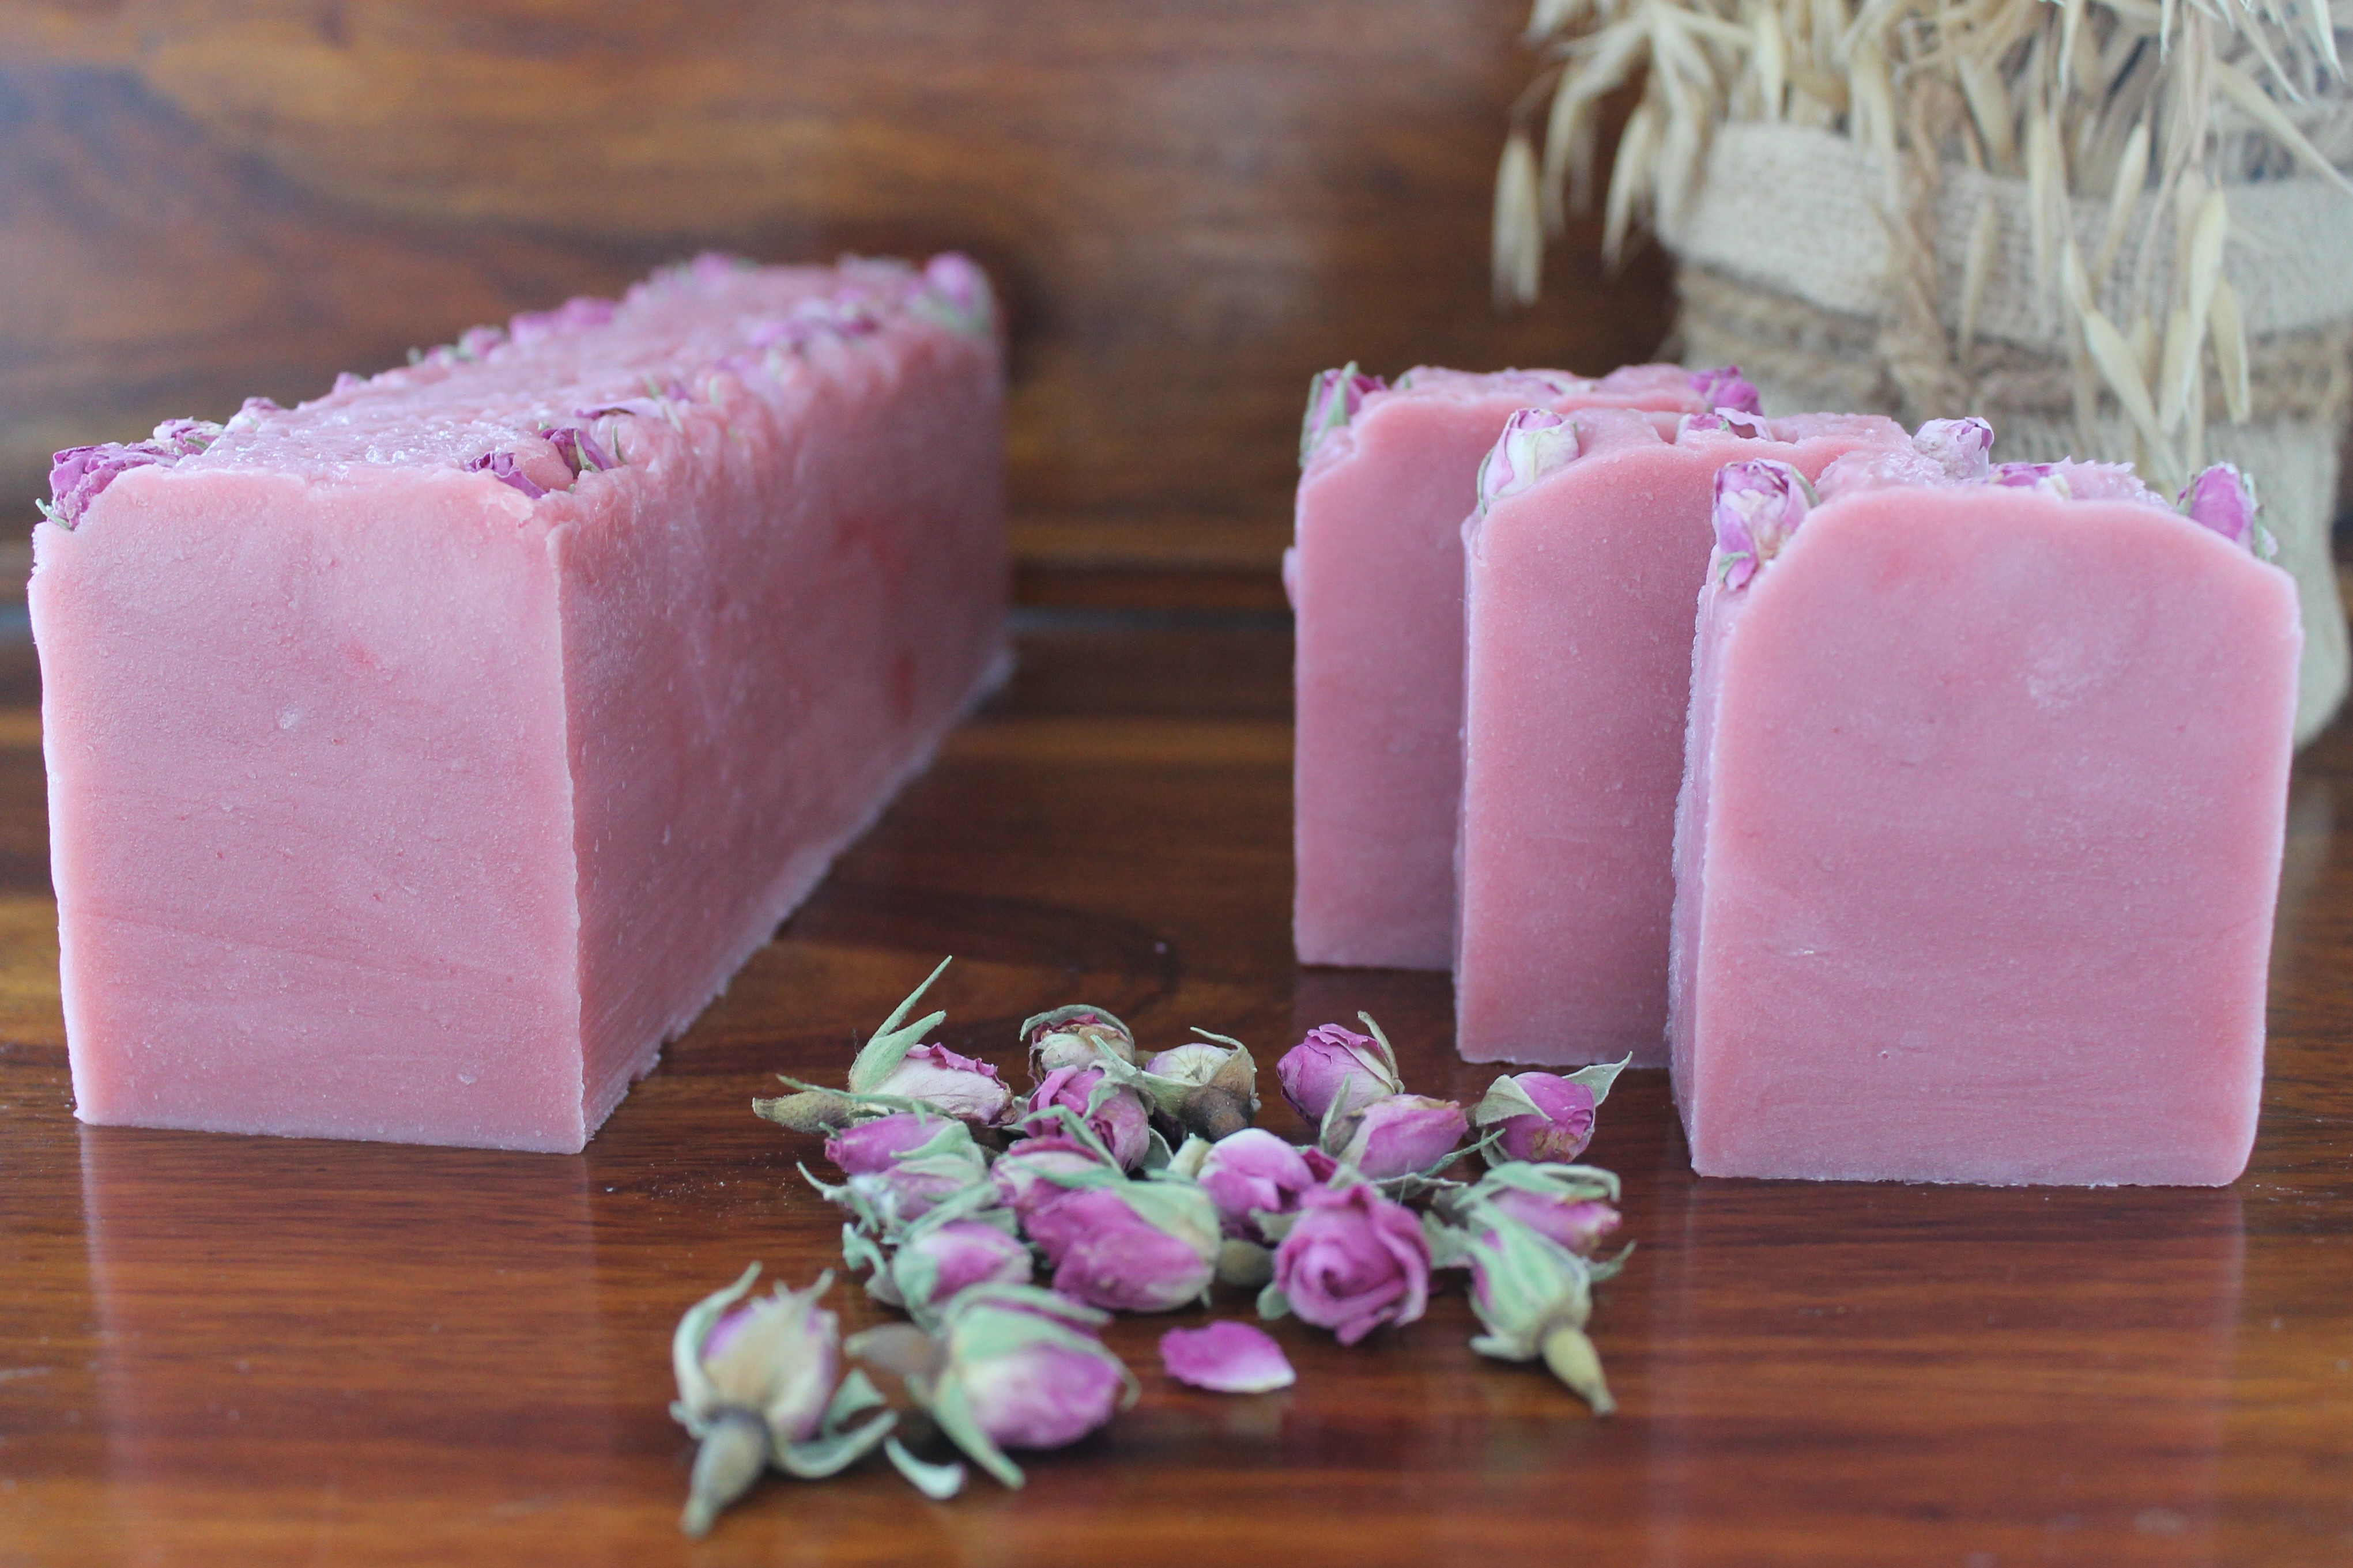
Hand Made Rose Soap
Rose Cold Process Hand Made Soap with love by Mihaela
Making rose soap homemade on cold process with vegan, natural ingredients and with dry rose for a beautiful designs is a hit with many customers since they are healthy and an inexpensive luxury gift idea.
A hand made ethical ingredients soap it lets you get everything clean, face and body, removing dead skin cell, make-up, bacteria and in the same time moisturize and heal.
Ingredients for Making Soap
Please look into attached soap making calc
cold dry fruits forest tea (the tea will come with extra benefits and beautiful color) instead of distilate water
lye (sodium hydroxide)
vegetable fat (olive oil, coconut oil, castor oil…etc)
essential oil added after trace are a natural option for giving your soap a lovely scent.
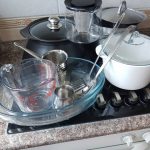
What we need (Soap Making Supplies)
• Non-reactive pot or slow-cooker for warming oils (i have one from ikea, inox)
• Glass jar for mixing lye/water
• Second jar or disposable cup for measuring lye
• Infrared or candy Thermometer (to show more than 48 degrees)
• Mold (can be silicon or wood)
• Digital scale
• Stick blender
• 3 Spoon
• 2 Spatula
• Nife of any cutter for the soap made in wood mods
• Safety glasses and rubber gloves
• White vinegar for final cleanup
Cold Process Soap Ingredients:
- All measurements are by weight (grams). Use your digital scale for accuracy.
- Total oils weight 1300g
• Shea butter 65g, Coconut Oil 260g, Palm Oil 260g, Olive Oil 260g, Castor Oil 130g, Grepseed Oil 65g, Rapseed Oil 130g, Rice Bran Oil 130g - 177,35g NAOH lye
- 494g dry forest fruits tea (the tea will be red color to help for the soap aspect on the end)
- 30g- 40g essential oils (rose and geranium)
| Recipe % | Common Name | INCI Name |
| 20 % | Coconut Oil, 76 deg | Cocos Nucifera (Coconut) Oil |
| 20 % | Palm Oil | Elaeis Guineensis (Palm) Oil |
| 20 % | Olive Oil | Olea Europaea (Olive) Fruit Oil |
| 10 % | Castor Oil | Ricinus Communis Seed Oil |
| 10 % | Rice Bran Oil, refined | Oryza sativa (Rice Germ) Oil |
| 10 % | Rapeseed Oil, unrefined canola | Brassica Campestris Seed Oil |
| 5 % | Shea Butter | Butyrospermum Parkii (Shea) Butter |
| 5 % | Grapeseed Oil | Vitis Vinifera (Grape) Seed Oil |
Cold Process Rose Soap Instructions:
1. Prepare your mold. Wood molds will need to be lined with freezer paper or wax paper. Silicone molds are ready to use as is. You can also use any cake box if you line it with freezer paper or wax paper.
2. Put on your protective gear, place the glass jar on the scale and tare your scale. Pour the tea water into the jar until it reads 494g. Set aside.
3. Put the second jar on the scale and tare the scale. Carefully pour lye into the jar until your scale reads 177,35 g. Set aside.
4. In a well-ventilated area slowly pour the lye into the water. Stir the mixture until the lye is dissolved. It will become quite hot so be careful if you need to move it. Let this mixture sit and cool to 43 degrees.
5. While the lye is cooling, measure all other ingredients EXCEPT the essential oils and if necessary like in the case of coconut oil and palm oil warm them together in your pot or slow-cooker. Once they are melted, remove the oils from the heat and let cool to less then 48 degrees. I use the thermometer about every 5-10 minutes to test the temperature.
Ideally, you want the lye/water and the oils to both be between 42-48 degrees and within 10 degrees of each other.
6. When the temps match, slowly pour the lye/water into the oils. BEFORE you turn your stick blender on, make sure the blade is completely under the mixture or you will splash it everywhere. Use the stick blender to bring the batter to a light trace. It should be slightly thick and resemble cake batter.
7. Now would be the time to add the natural color (i added little of alkanet into the olive oil before one day of the soap making procedure) and after essential oils, but it is completely optional.
8. Blend essential oils in by pulsing the immersion blender a few times. This should bring the mixture to a medium trace.
9. Pour the soap batter into your prepared mold. Use the spatula to get it all out. Remember that the soap is not fully done yet at this point and could still irritate your skin so you should still be wearing your gear.
10. Put the mold somewhere covered so it can sit for 24 hours. ( u can place an upside down cardboard box over the soap and cover with a towel)
12. Let sit for 24 hours. You can now remove your soap and cut it. You can cut them whatever size you like.
13. Stand bars up in a dry area with an inch or so of space in between to allow for air circulation and let them sit for 4-6 weeks. This will allow the soap to complete the saponification process. The soap will also lose some of its water during this time making the bar harder. The harder the bar, the longer it will last.
Soap Making Clean-up
Rinse the jars and any supplies that had lye or soap batter in them well with running water. You can pour some vinegar in a sink filled with hot soapy water and wash them in there, or you can wash your well rinsed dishes in the dishwasher.
Cutting the soap video: https://www.facebook.com/mihaelapaunescufloarea/videos/10156976316721670/
Currently i am soap making course provider at Change Works Abu Dhabi. If interested please follow the course schedule page and join my course. http://www.changeworksad.com/